Showing posts with label Mod Podge. Show all posts

April 08, 2019

Mod Podge Professional Development

Last week I led a PD for K-12 art educators in our district.  There were 20 in attendance....and it was a whole lot of fun!  We are blessed here in Nashville to have a ton of art teachers (close to 150...I think!?!?), and that allows us to have district professional development for those art teachers.  

I had posted awhile back on my blog about the nylons/embroidery hoop silk screening at tried out.  Some of the teachers in my district saw it...and asked if I'd lead a PD on it.  That was not enough to build a whole PD on...so I decided to use Mod Podge as my theme....I find a bunch of different uses for it in the art room.  Some "normal"...some not.  Here are the pictures from our day!! 

(Feel free to ask questions if you have any!)

It was an amazingly packed day!!  I was trying to provide a variety of projects that utilized Mod Podge in different ways! One of our teachers was like...."WHAT...ANOTHER PROJECT!!!"  ha ha
I like to give teachers a lot to work with!!!!!


Mod Podge can make a great resist....and you can select from gloss or mat for just the right look you want/need for your work! 


HERE ARE THE RESULTS OF THE SCREEN PRINTS!! SO COOL!!!


We used clear plastic plates for a "self portrait" collage/painting project.  Mod Podge makes a dishwasher safe version of its


Did you know Mod Podge painted around the edges of burlap prevent it from fraying!!


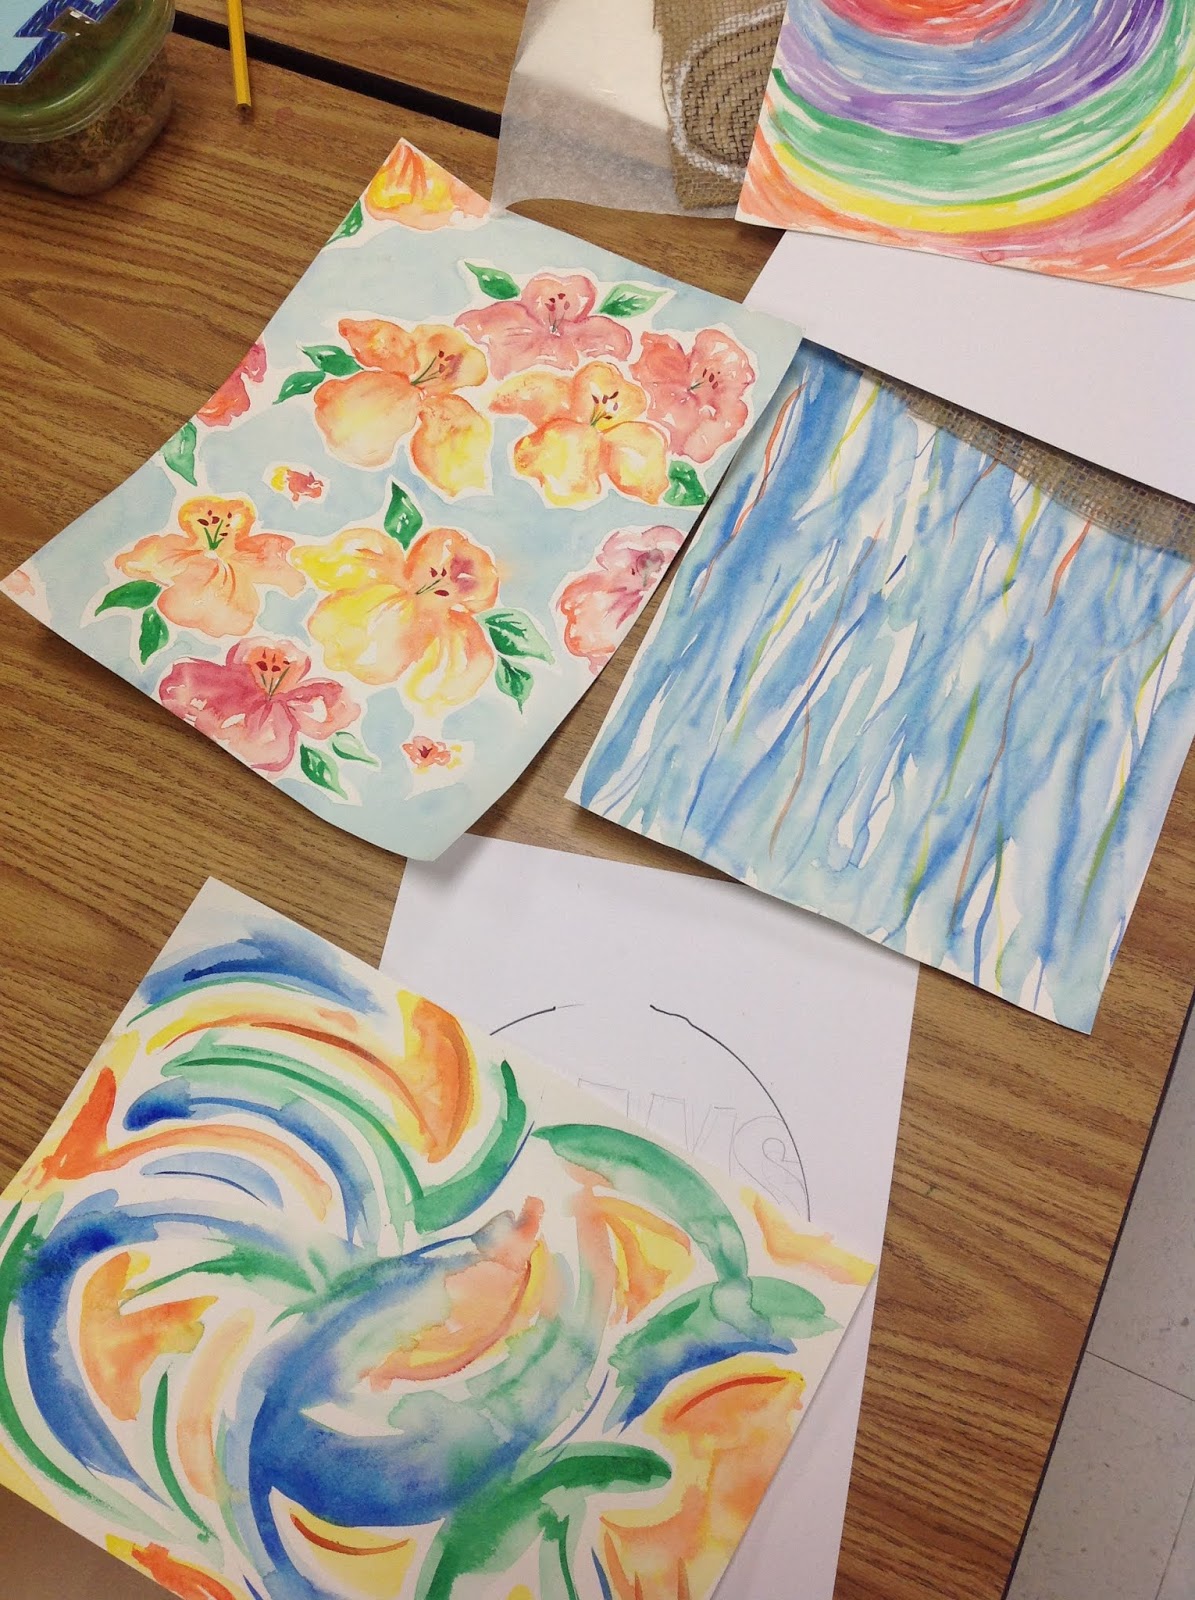
Here are some beautiful odds & ends that Mod Podge was applied to in some way! 


December 28, 2018

Silk Screening/Printing Experiment

Sometimes you see things online & ya just have to give it a try!  
So let me share with  you my attempt at the silk screen project using pantyhose, embroidery hoop, and Mod Podge! I was pretty happy with the results, however...I'm not sure about doing this with a whole class...or whole grade level, but I can see this being an amazing project for small groups/centers/art clubs! 

1)  Buy some cheap Pantyhose! It really doesn't take much to cover a medium hoop.
2) Trim the excess off!  It will get in your way later if you don't.
3) Draw out your design.  You could place a pre-drawn image under the pantyhose, but I was afraid I'd slip and slide.  So I Sharpied it right onto the pantyhose.  
4) Paint on the Mod Podge (note: It is MOD Podge...not Modge Podge.  I did not realize that this ticks some people off when said incorrectly.  You've been warned! ha ha)  Remember that where you place the Mod Podge will remain white/paper color.  Also...pantyhose can be a bit challenging for young artists to "paint" on...so you might need to encourage them to make a thicker/bulkier design.  I think fine details would frustrate them when they apply the Mod Podge.
5) Allow to dry completely.  I did paint two coats of Mod Podge on my design just to make sure it had solid coverage.  One might have worked...but better safe than sorry!
6)  I used acrylic craft paint on mine.  I was afraid traditional printing ink would be too thick.  I placed it along the edge of the hoop.  Not sure how much that matters....but I was just thinking about traditional silk screening/printing.
7) I used an old gift card as my squeegee. You could use cardboard, cut down plastic lids..etc.  It isn't a large area, so use what will work best for the size hoop you are using.  
8)  I'm not sure what happened with my first print?  I printed these one after another...adding a little more paint when needed.  
9) Rinse the excess paint off the surface...CAREFULLY!  Well, that is if you want to use this "screen" again.  I washed mine off under slow running water...and just used my fingers to rub it to help get the paint off.  If you rub too hard or use too much water...you run the risk of removing the Mod Podge.  If you do plan to use it again...I'd recommend repainting it with the Mod Podge just to be safe. 


I HOPE THIS WAS HELPFUL/INFORMATIVE! 


July 08, 2018

Mod Podge

I have gained a greater appreciation for Mod Podge. I've always known it to be a quality product, but I do believe they have one for just about every situation. Severed your arm in a paper cutter accident....there's a Mod Podge for that! (Just kidding....I think!)  One of the bottles below says it is DISHWATER SAFE.  Who knew!?!? 

July 05, 2018

Shrink Film Fun

Do you use Shrink Film in your classroom?  I'm going to do a project this coming year, and was testing out time/challenges with my daughter. I'm concerned about it going too dark if everything was done in Sharpie....so we outlined with Sharpie & colored it in with colored pencils.  This seemed to work out great.  I did not rough up the surface first because it had a mat finish already.  I know some products it is best to go over it a little with a fine grit sandpaper so the color stays put!  


My video ended sooner than expected because storage was full! 
 (I really need to delete some of my 2000+ photos!)


I cut a sheet into quarters to start.  After the images were drawn I cut around each....leaving enough space at the top to hole punch so we could make them into necklaces.  You may need to make the hole larger than a standard hole punch will create depending on what you are using to string the necklace with.  You may need to do some experimenting to get it just right! 


If your oven is hot...it should take around 2 minutes to shrink & flatten back out.  If it doesn't flatten completely in the oven....as you pull it out push down the edges(that should do it!).  I only place two to four on the tagboard(it is a thick non-corrugated cardboard kind of material).  That way they won't touch and possibly stick together(it has happened before...but not often).  My toaster oven has to racks...so I can do 8 at a time(if you are thinking about how long it will take you to complete a class).  


We used SPARKLE MOD PODGE to coat it with once it could down.  Don't rub too hard when you brush on the clear coat of your choosing...it might cause the color to smear.  


(I used waxed string to make my daughter's necklace...I really like it!!  Easy to use..slides through the holes...easy to tie....affordable.)