Showing posts with label Coil Method. Show all posts

April 10, 2023

Coil Pot Hack

If you don't follow me on Tik Tok...find me at @ArtWithMrE !


I use terracotta flower pots for my students to create their coil pots in.  It gives structure to the sides as they are building upwards.  I was having so many students not able to control the amount of pressure they were using.  This would cause their pots to become more like plates.  This prevents that!! Plus, it speeds up the drying process. 

The students will build their pot up toward the top (depending on how much clay you provide them. You may have some students make "cookies" and stack them.  

You can tape the bottom of the terracotta pot to keep this from happening, but if you catch it the next day...it is super easy to cut off with a clay tool!

POOF! GONE! ha ha  This is also a great time to knock down any sharp edges the pot might have around the lip.

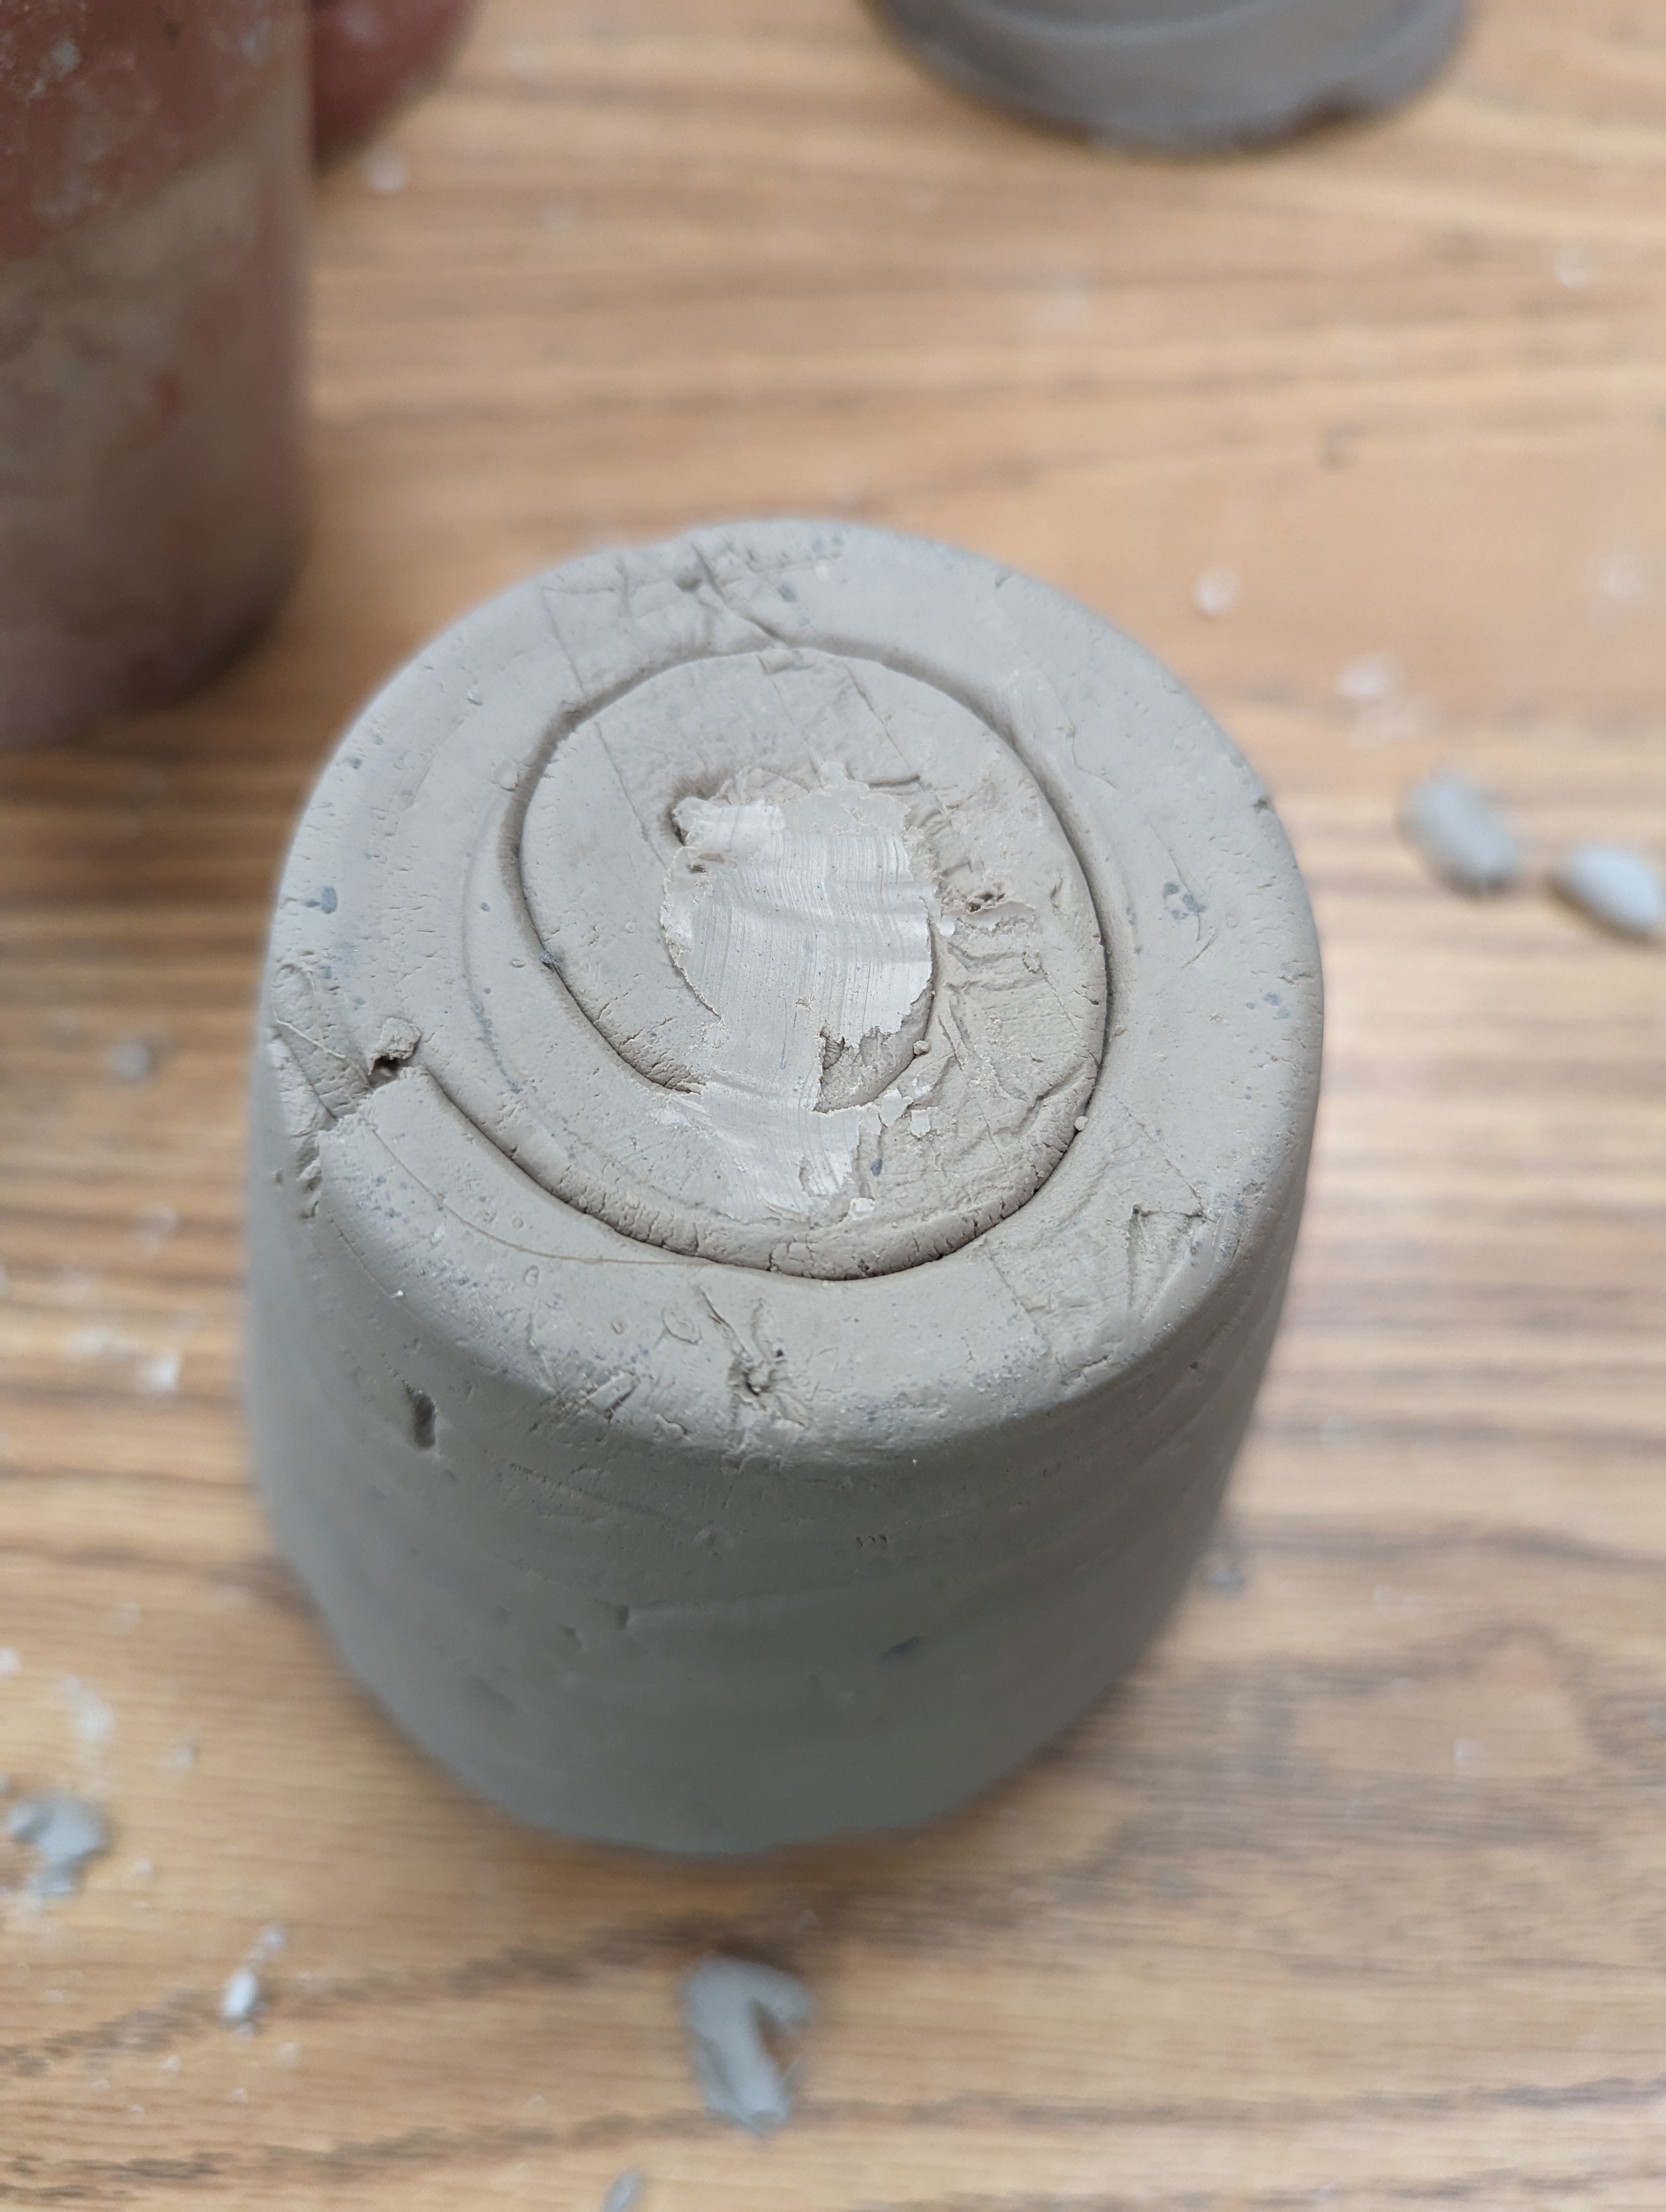
Carve the student's name into the bottom while the clay is still leather hard(next morning). 

You could use a sharpened pencil, but I love this handy dandy nut picker thingie(I have no idea what it is actually called. I just know we used it to get the nut out of the shell growing up! ha ha).


April 16, 2018

BRAIN BOWLS

This year I've changed how I'm doing 2nd grade's Coil Pots.  We are still learning how to create coils.  We are still learning how to join clay properly.  However, we're creating clay coil spirals, and then joining them side by side inside a bowl (PLEASE NOTE: If you are using plastic bowls..place a paper towel in the bowl so that the clay does not stick and ruin a whole class worth of bowls!  Not that I would know from experience or anything!??!?!)  


I sat one of my 2nd grade examples on top of one of my 4th grade examples....and the "BRAIN BOWL" was born!  The kids named it...I just was trying to make room on my demo table! ha ha


LINE THE BOWL WITH PAPER TOWEL!!!!!!!
 LEARN FROM MY MISTAKES!!!!
The inside of the bowl is smooth, and the coily goodness can be seen beautifully on the outside!


At the end of class students brought me their unused clay.  However, some was too dry to put back in with the "good" clay.  I don't have an area to wedge and such...so usually too dry clay goes in the trash.  I decided to use their too dry clay to make this little turtle! 


April 09, 2018

EXTRA EXCITING CLAY DAY: 2nd Grade

With the number of classes I see & the budget I receive....I'm able to do one clay project per grade level a year.  So needless to say....clay projects are special & exciting! 


But today was a bit more exciting than a "normal" clay day.
I gathered my students back to the demo area where I have a brand new box of clay.  I wanted to show them the weight of it & how it comes to me.  So as I'm explaining how heavy it is & how they ship it....I'm opening the box.  As I lift the flap of the box...the BIGGEST, FATTEST, UGLIEST cockroach jumps out of the box!  The kids let out a collective high pitched scream & jump back from the table.  I didn't scream(really...I didn't)...but I did jump back!  The cockroach must have been scared because it scurried back into the box.  I flipped the box over to get him out...and found another one squeeshed to the side of one of the bags of clay.  I did gag a little at the site of legs and guts everywhere!  Oh my. What a way to kick off clay!!